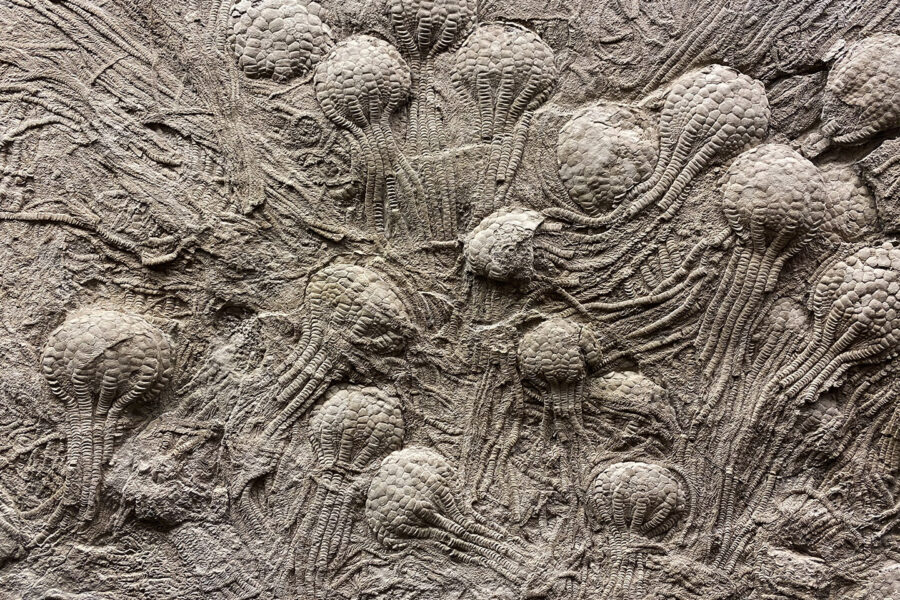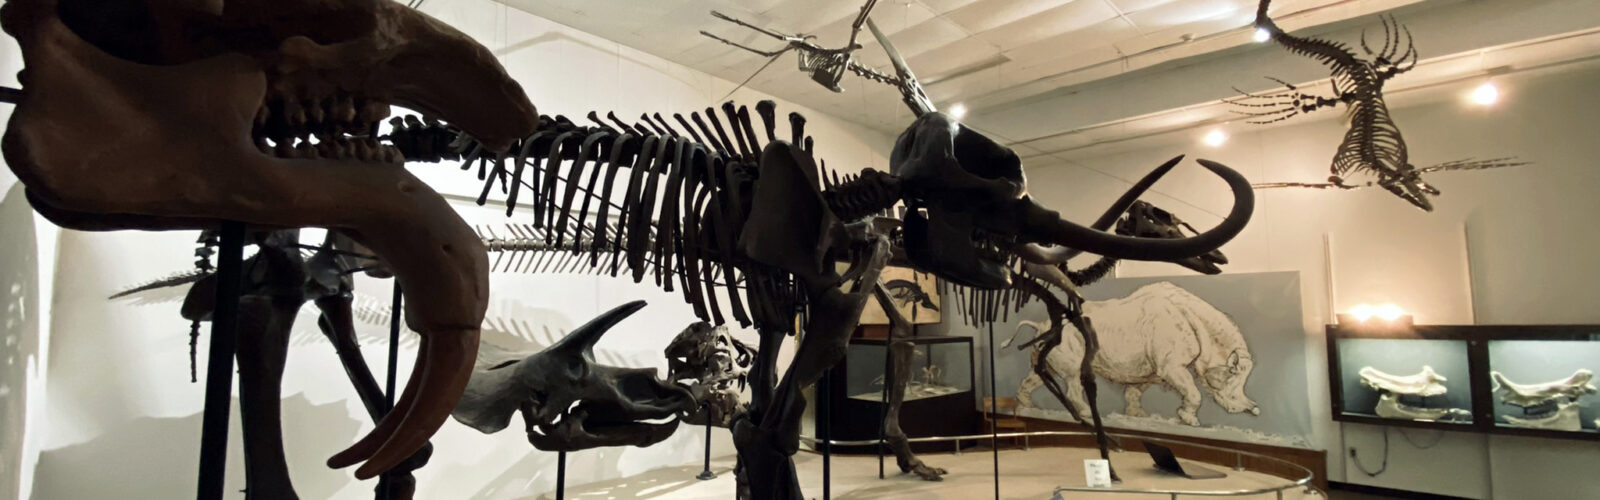
Explore the Geology Museum and take a peek into Wisconsin’s deep history! On your visit you can touch rocks from a time when there were volcanoes in Wisconsin; see corals, jellyfish and other sea creatures that used to live and swim where we now walk; and stand under the tusks of a mastodon while imagining yourself in the Ice Age.
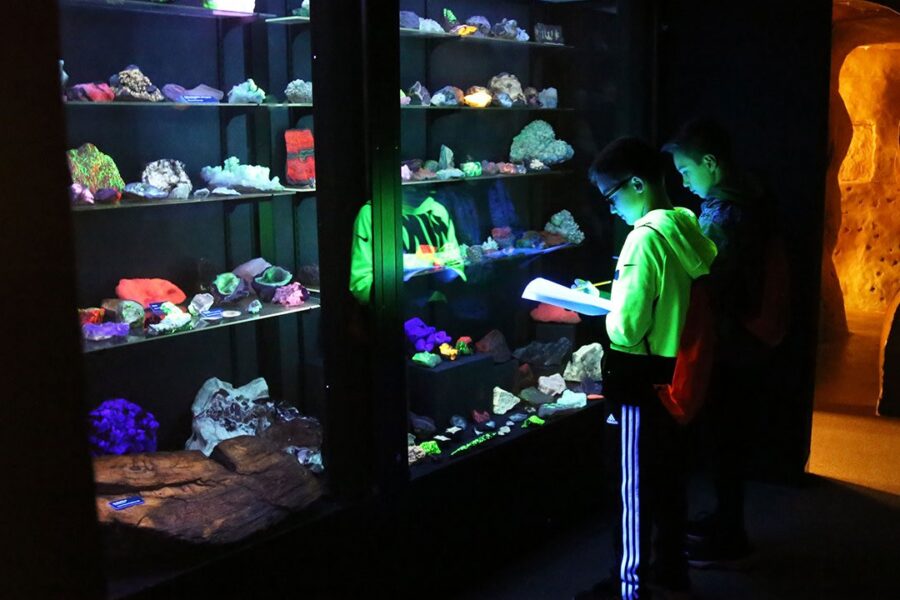
Also on display at the Geology Museum are rocks and minerals that glow, a model of a Wisconsin cave, dinosaurs and meteorites. Our mineral, rock and fossil collections have the power to educate and inspire visitors of all ages.
Come see for yourself!
The Museum is open and free!
Visit us in Weeks Hall, 1215 West Dayton Street, Madison, Wisconsin.
- Monday through Friday: 8:30 a.m.–4:30 p.m.
- Saturday: 9 a.m.–1 p.m.
Closed Sunday
If you are coming in a group of 10 or more we ask that you contact us in advance to schedule time to come explore the exhibits. Please see the “Tours” page for details.
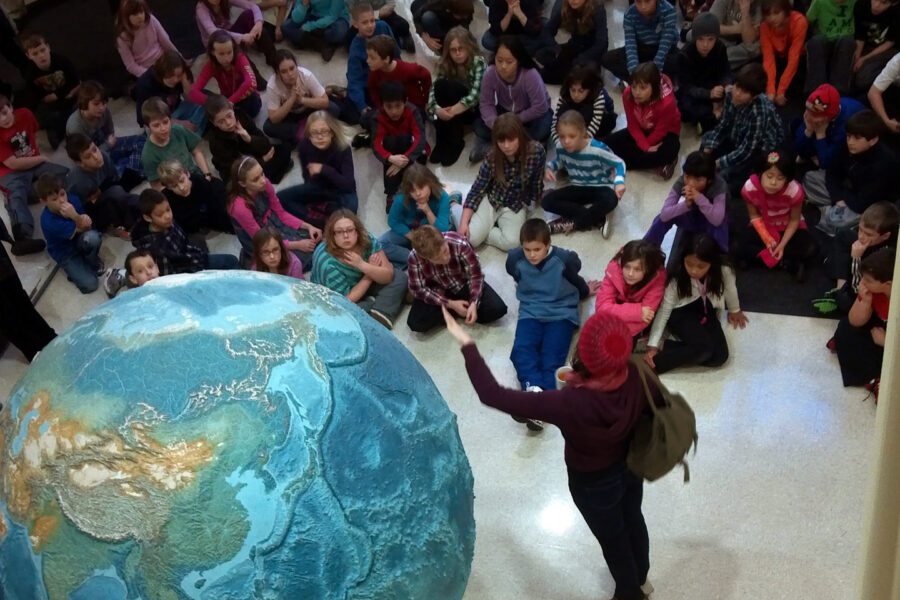


Open over 300 days a year and FREE – come explore geology!